Due: Sunday, March 26 at 11:59 pm
Before we cut our release, let’s do a few miscellaneous cleanup items:
Finish up the first cut of your README.md
pip install <library name>, npm install <library name>pypi / npm website)Finalize your CONTRIBUTING.md
node.js, pythongit cloneyarn lint, make tests, etcPlease add tests for any new featuresFeel free to draw inspiration from any of the README.md or CONTRIBUTING.md files you find in projects that you regularly use. Make sure you open a PR for these changes, but feel free to merge the PR without waiting for teaching staff feedback.
Sign up for an account on the deployment registry for your chose project language. For JavaScript, this will be npmjs.com, for Python it will be pypi.org. If you have done your project in a different language and are unsure of the correct registry to use, please reach out.
Once you’ve signed up, open a PR against the project proposals repository adding a link to your account to your student markdown file. I have added both my pypi and npm accounts as an example. Ensure that your commits are squashed into 1, and that all status checks pass.
If your library needs work, ensure you’ve done it prior to releasing
We will perform the release process in 5 steps.
In step one, create a branch and commit the version change. If your project started from 0.1.0, for example, change it to 0.1.1. My example python project uses bump2version to do this, but you can also do it manually. Ensure that this work is done on a PR, and merge the PR after status checks pass.
Once you’ve merged the PR, on your local machine move back to the main branch and git pull to grab the changes you just merged. Now, create a tag with git tag. Using the example above, I would run git tag v0.1.0. This will “name” the latest commit v0.1.0, giving us a named version reference to our commit hash. Then, push this tag up to your GitHub repo with git push origin <main branch> --tags. Note that your branch protection rule will prevent any accidental changes, but you shouldn’t have made any code changes anyway; this will just push the tag information.
You should see output similar to the following:
> git push origin main --tags
Total 0 (delta 0), reused 0 (delta 0), pack-reused 0
To github.com:ColumbiaOSS/example-project-javascript.git
 * [new tag]         v0.1.0 -> v0.1.0
A few helpful tips if you make a mistake:
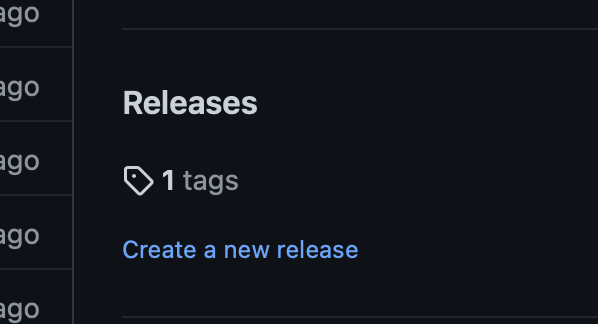
git tag v0.1.0 -fgit tag -d v0.1.0git push --delete origin v0.1.0After pushing your tag, you should now see an item on your project’s homepage.
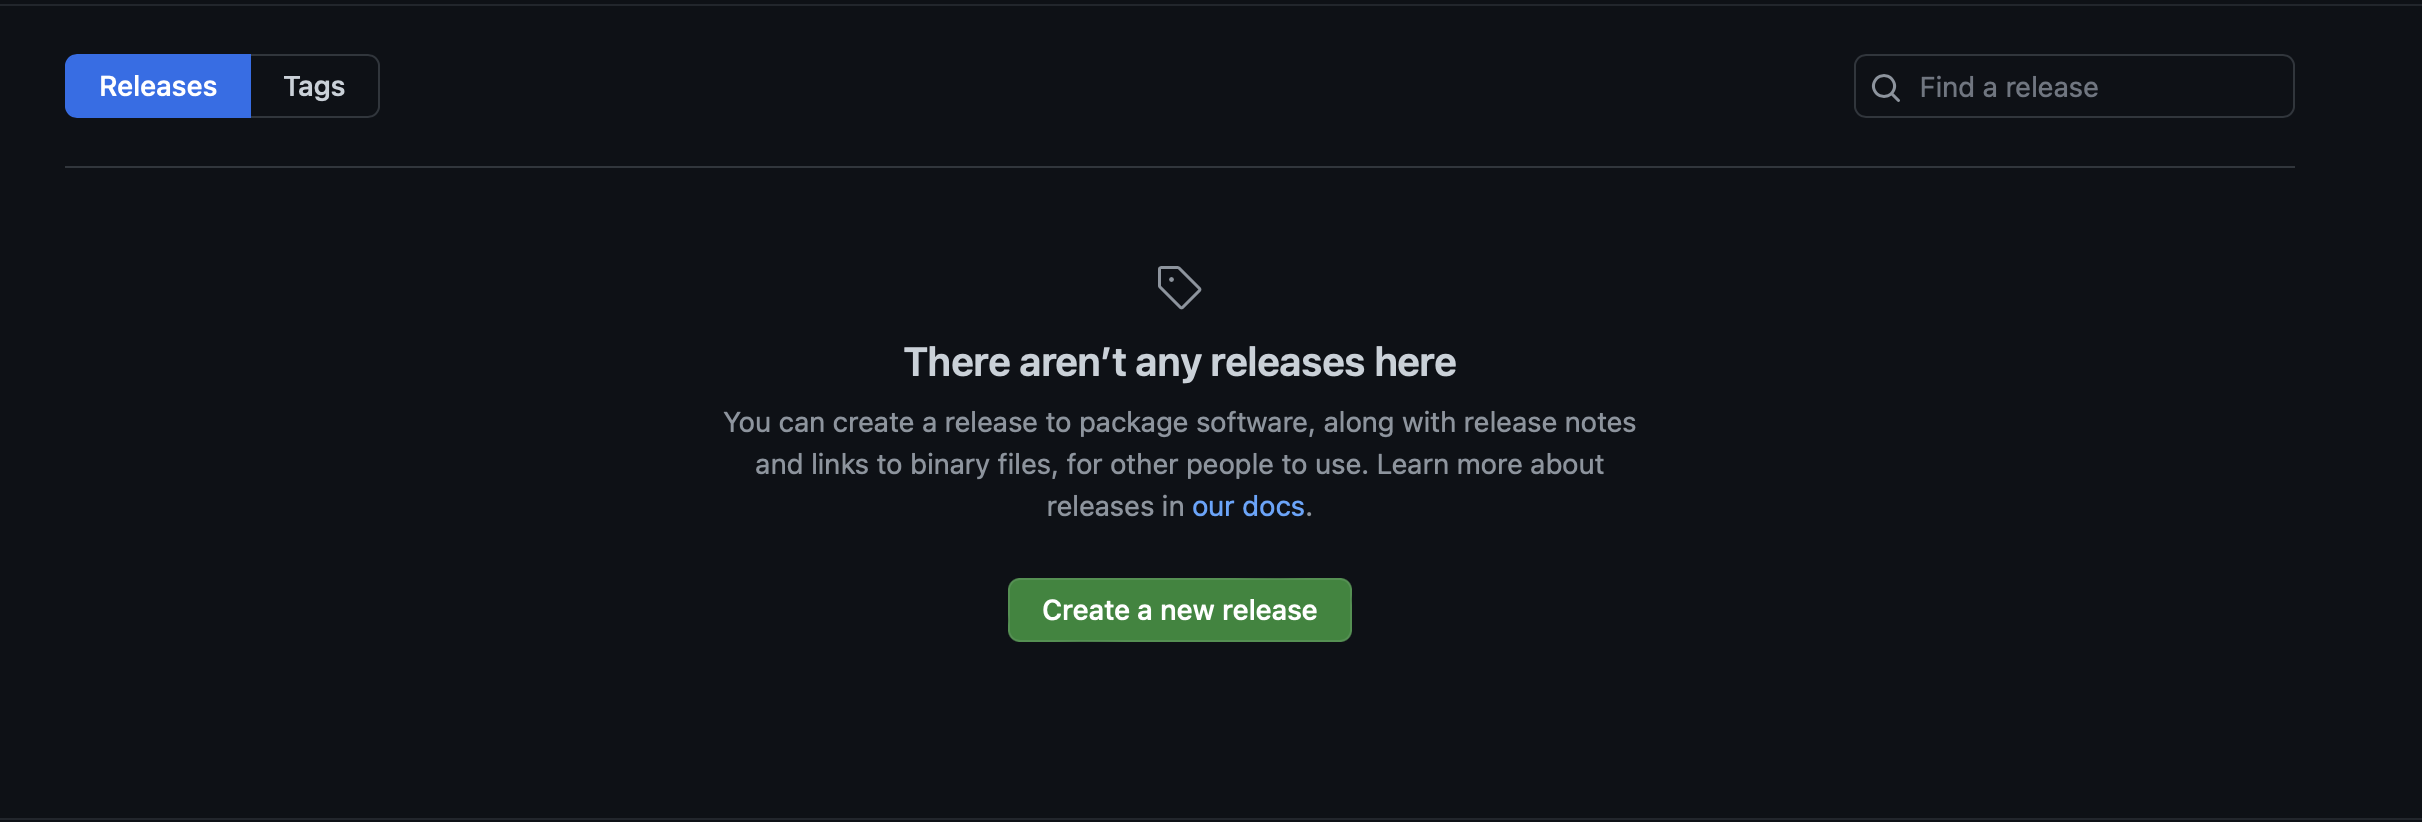
If you click on Releases, you should see an empty page:
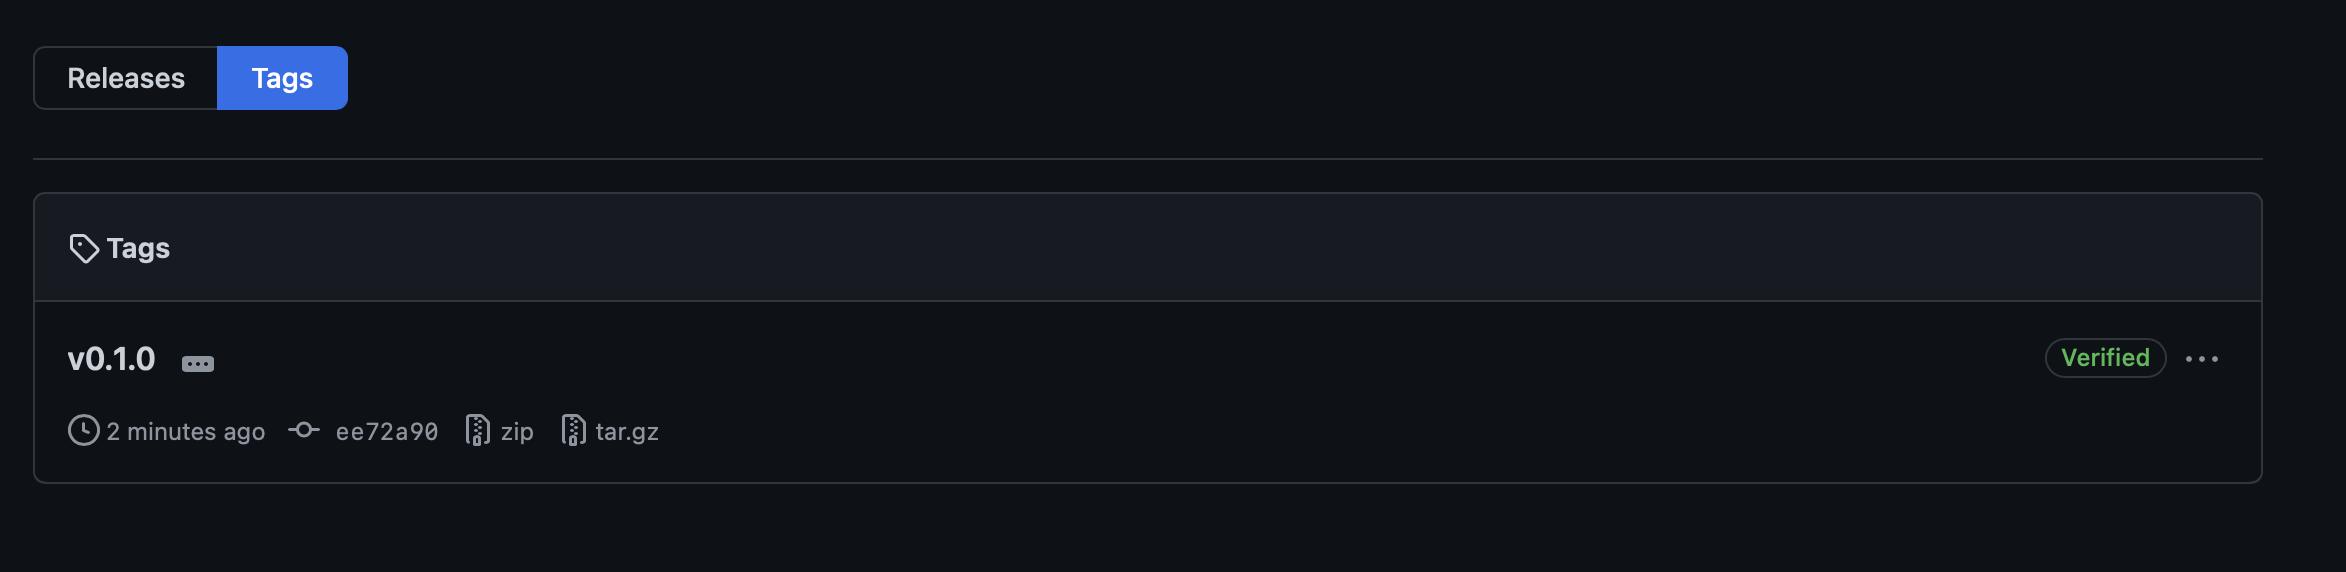
However, you should now see your tag:
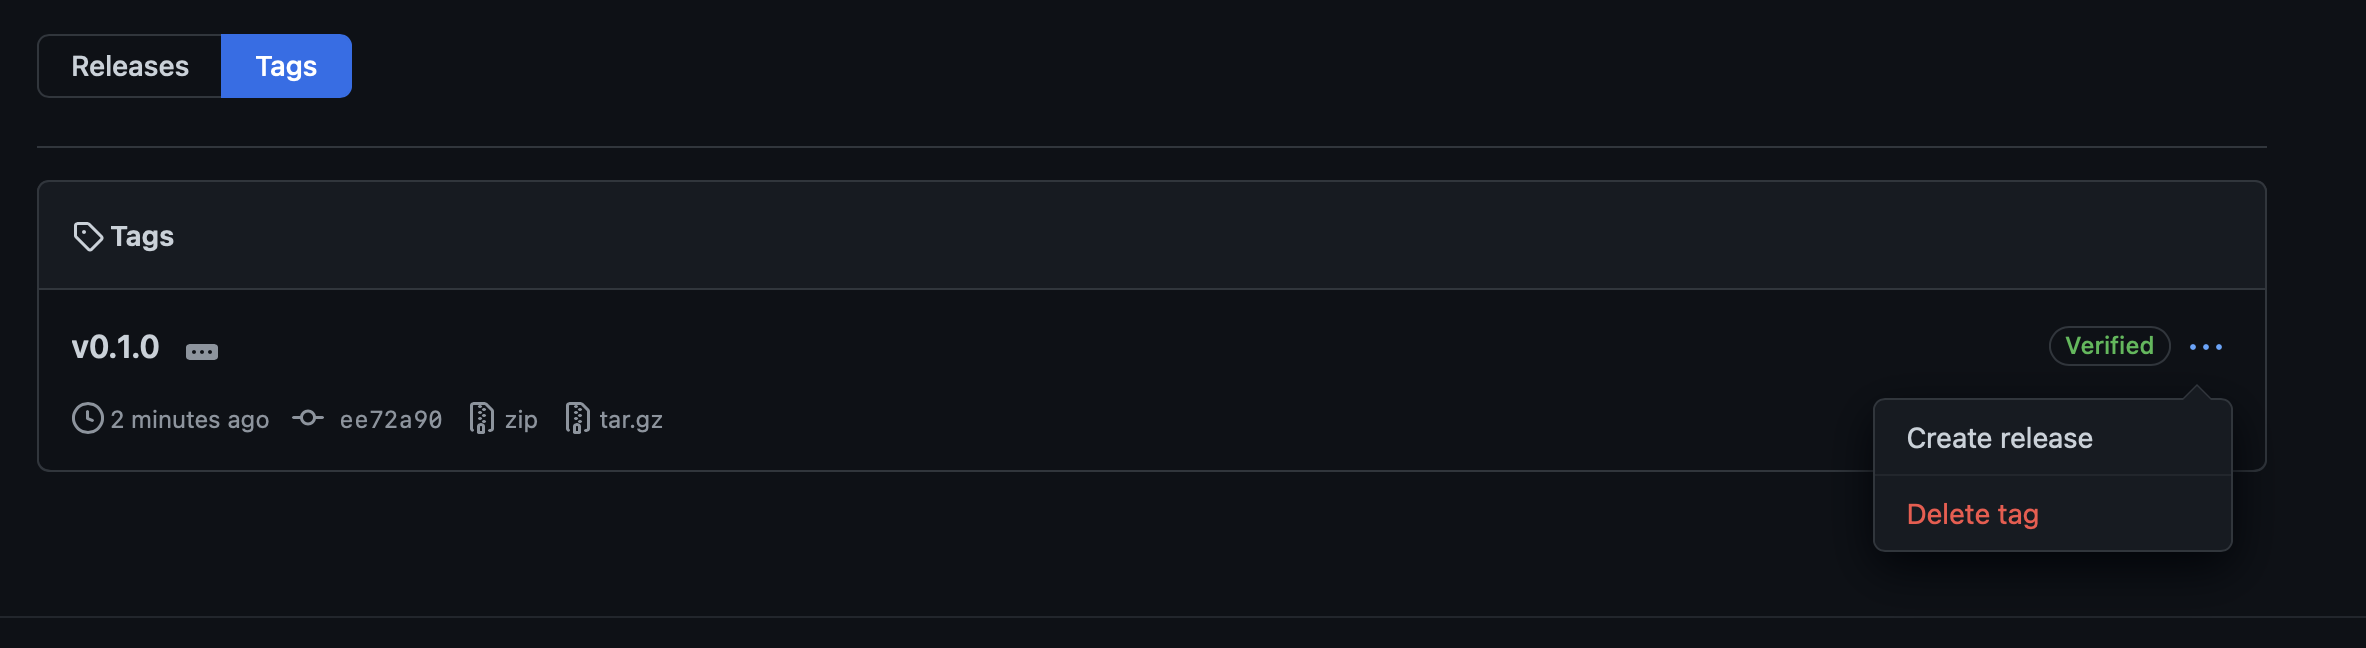
As discussed in class, GitHub tracks releases via git tags. So we can go ahead and create a release from our tag:
This will bring us to the release page. Here, we can put a title and write release notes. For now, just include some information about what your project does as of this moment in time. In future releases, you will write about the changes you made since the previous release.
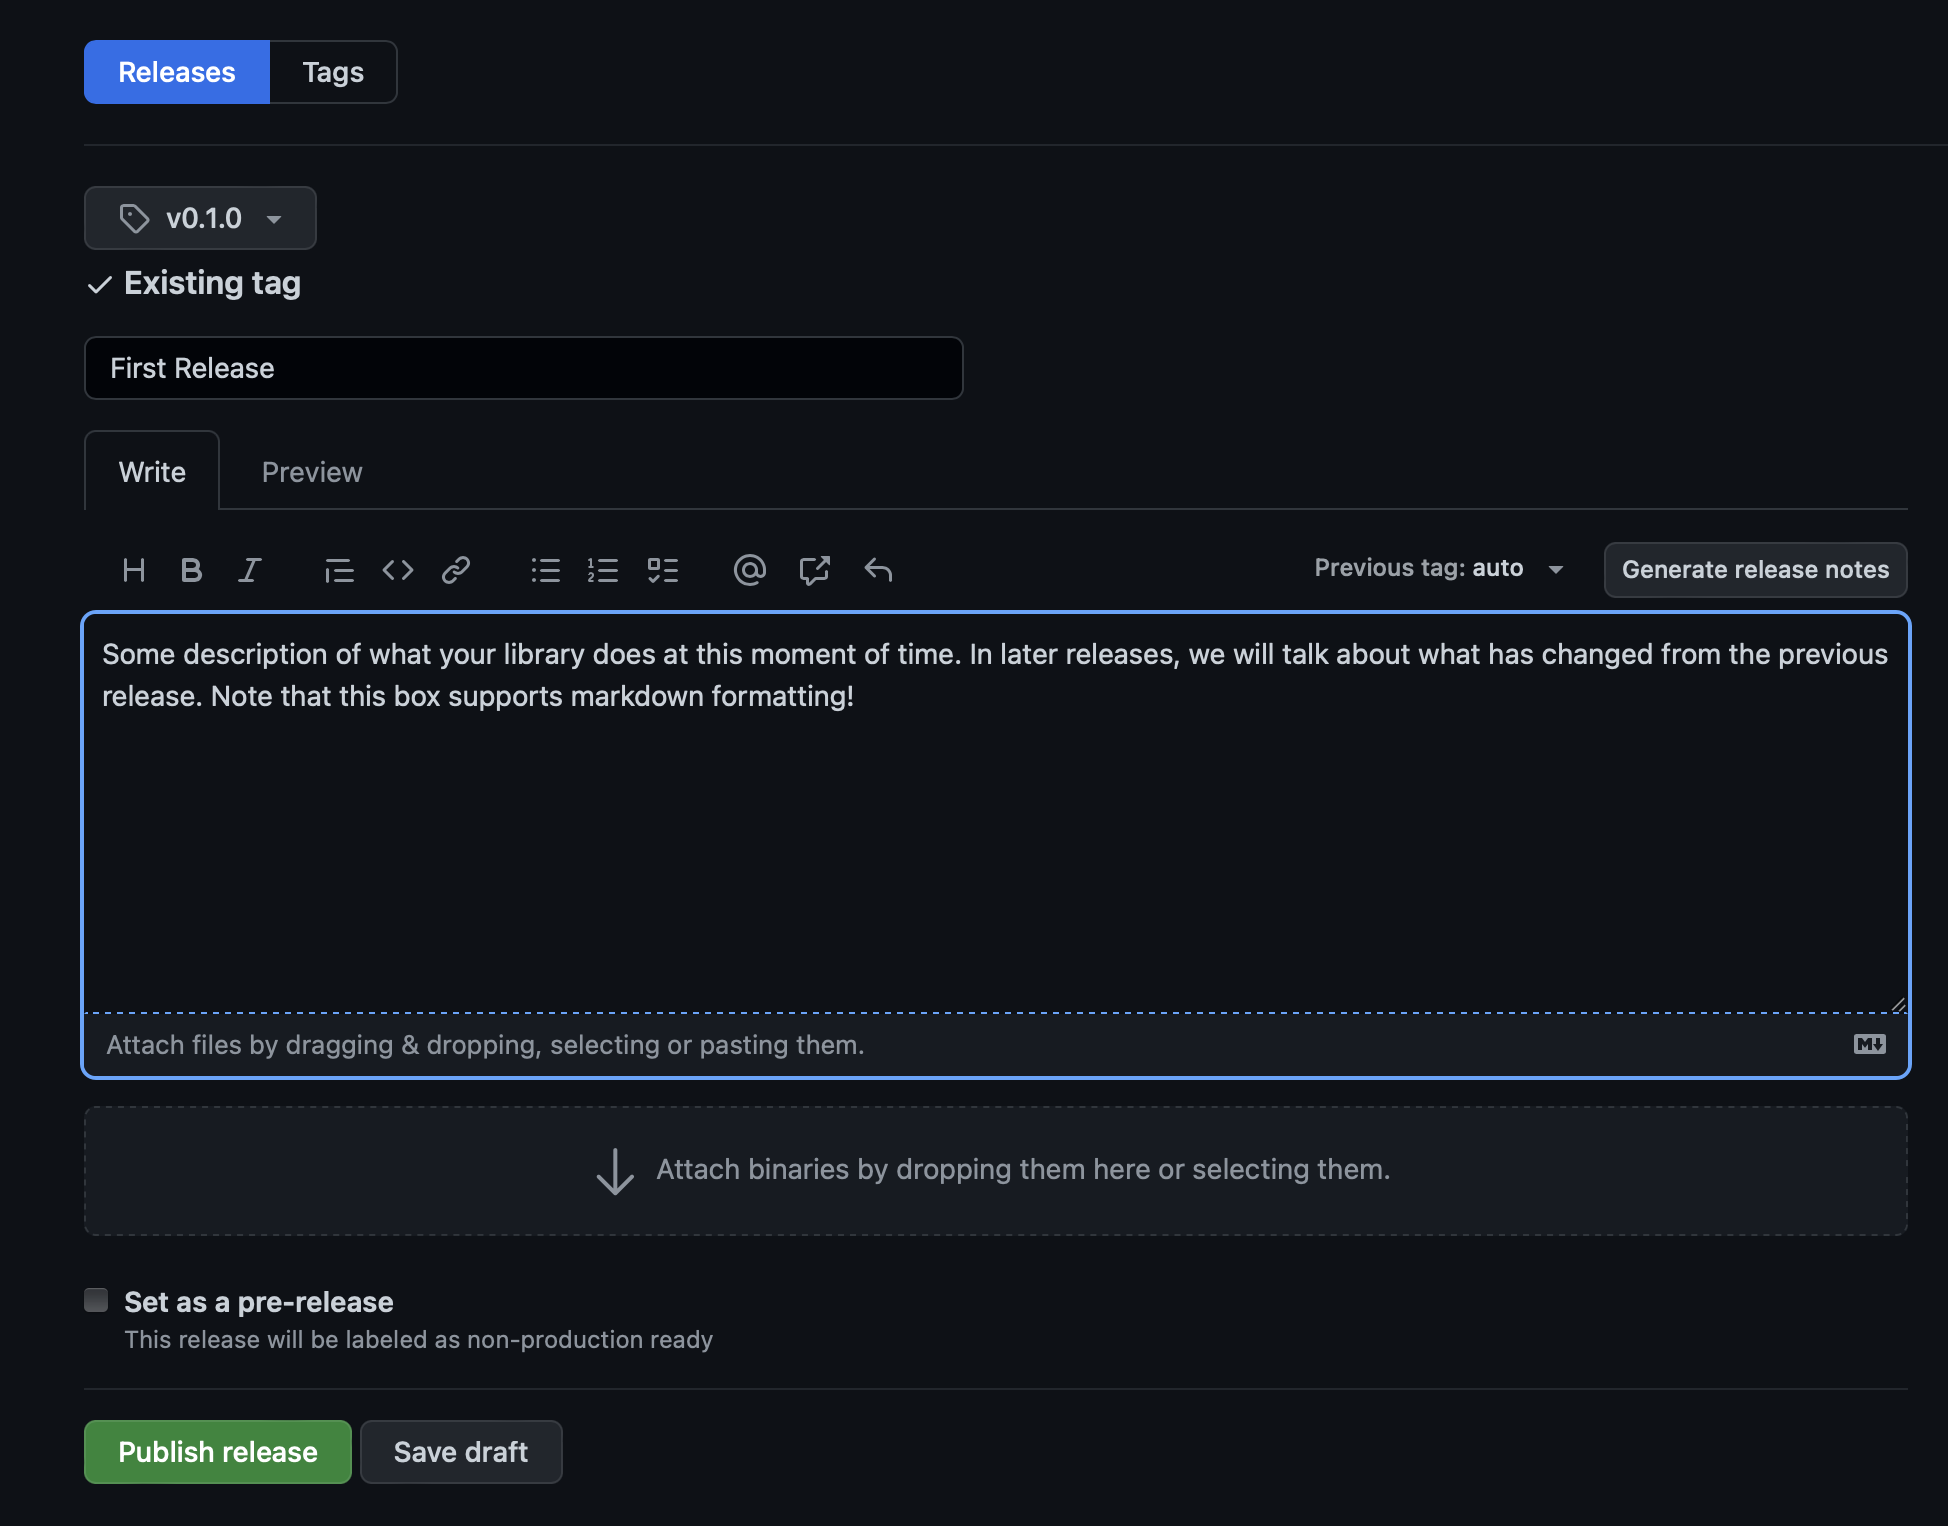
Click Publish Release, and you should now see your release notes, along with a tarball and zipfile or your repo as of the commit associated with the git tag.
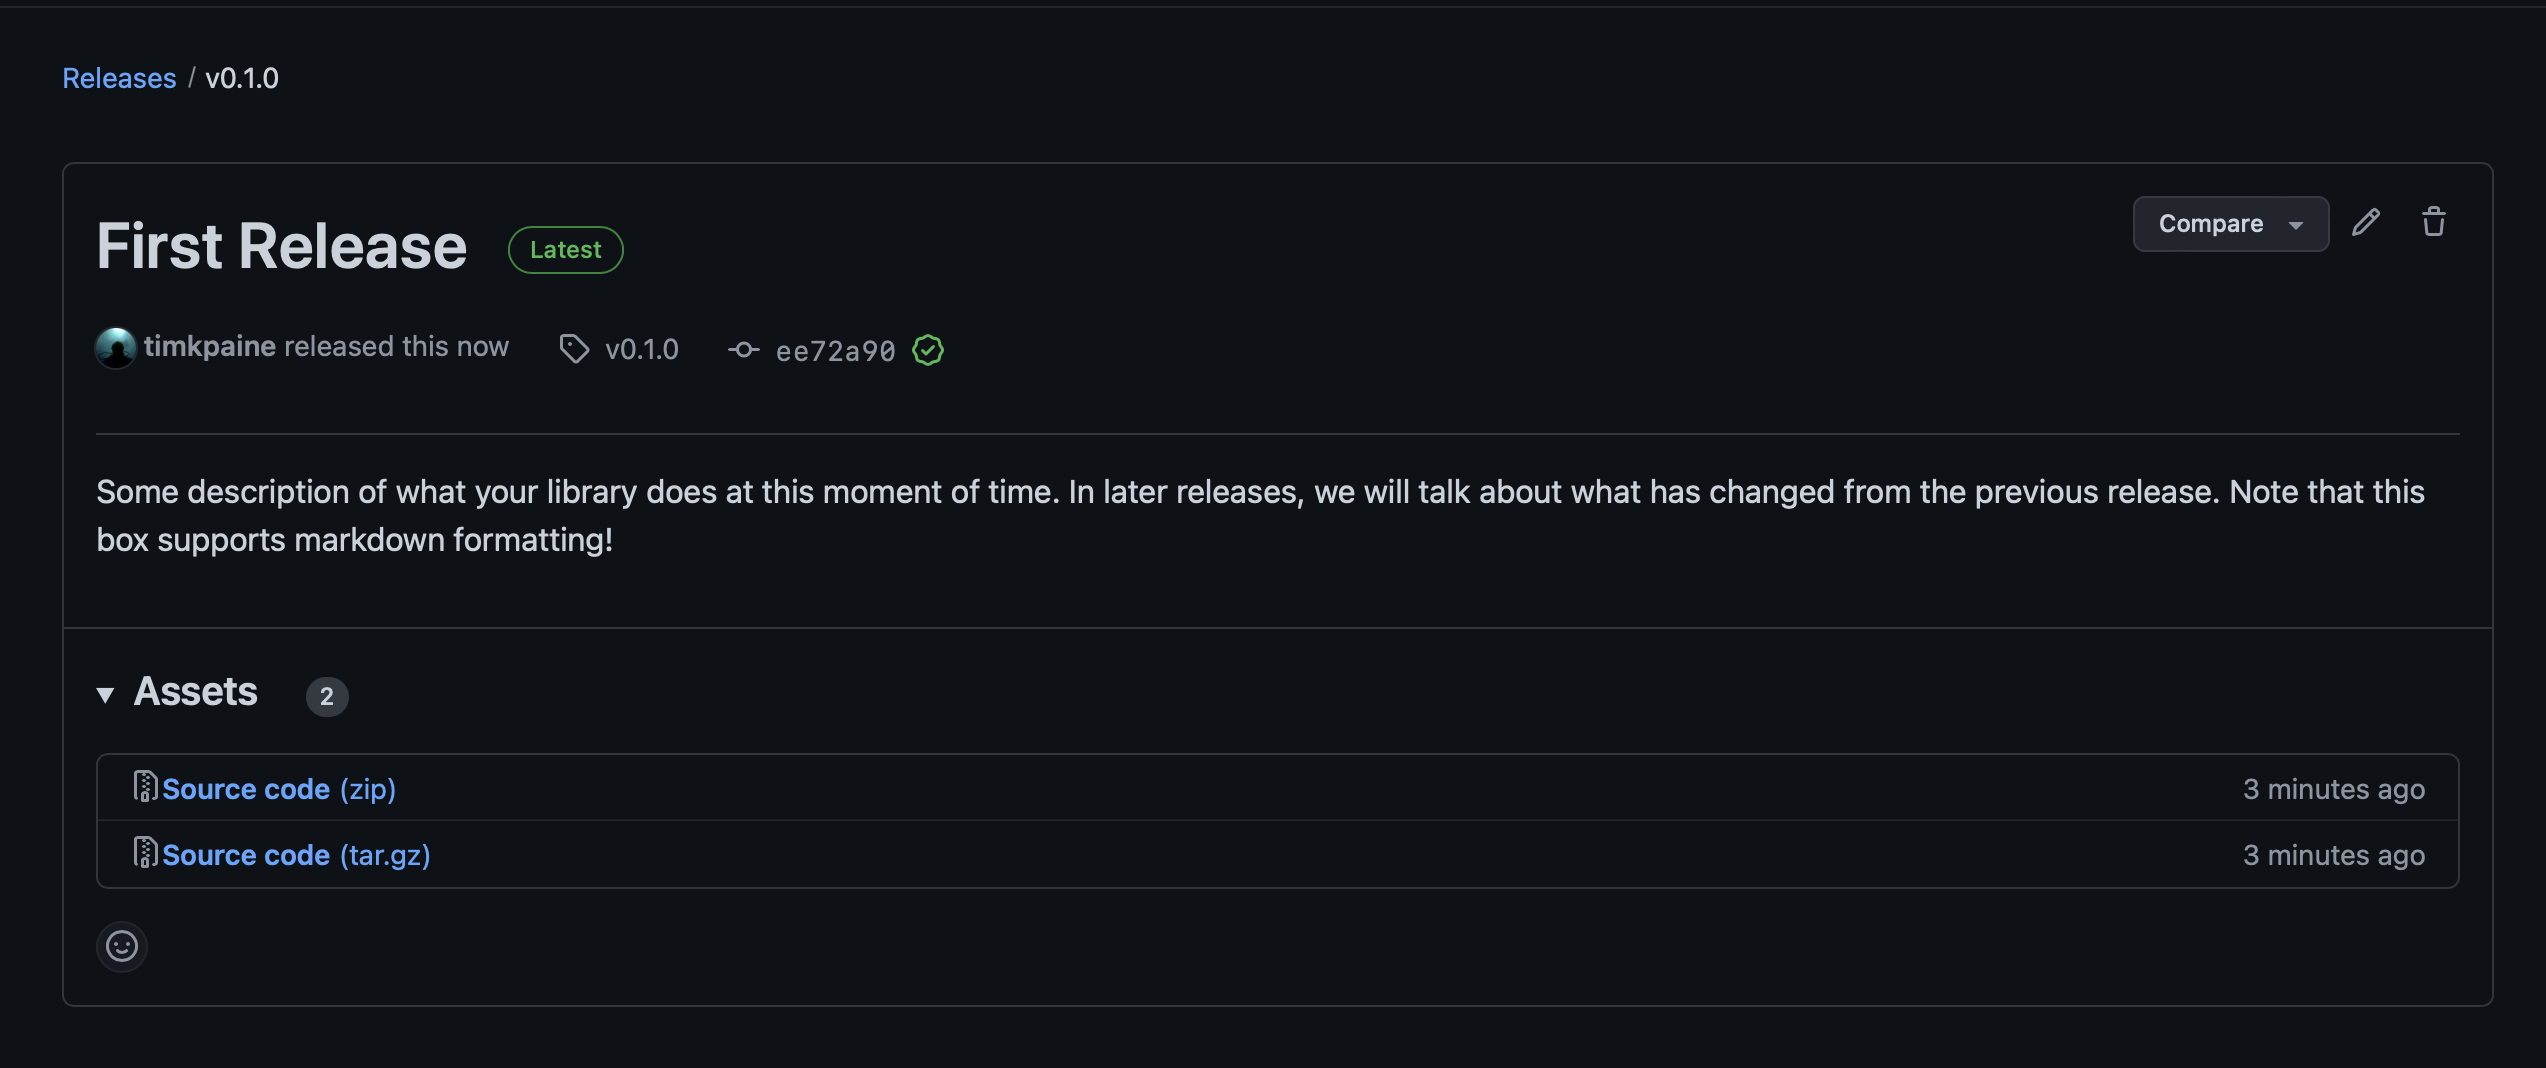
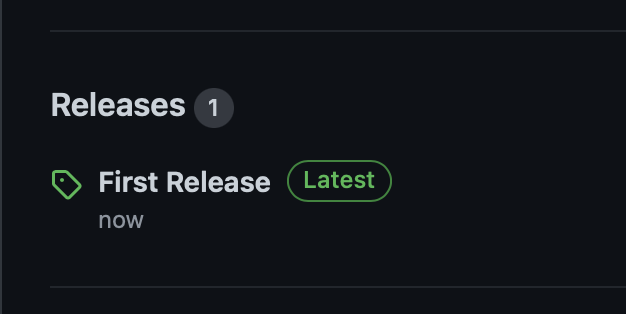
And finally from your project’s homepage, you should now see the release:
Now that you’ve created your release on GitHub, its time to package and distribute your project to the registry. This will vary by project, but for JavaScript projects it should be as simple as npm publish.
For Python projects, you’ll need to first make a distribution via python setup.py sdist, then check that its ok with twine check dist/*.tar.gz, then finally upload with twine upload dist/*.tar.gz. Ensure you’ve used a tool like check-manifest prior to releasing to ensure you’ve included all the necessary files. PyPI will also reject the upload if you have malformed or missing metadata in your pyproject.toml / setup.py file.
As a last step, add a badge to your README to show the latest published version of your library. Since GitHub and the registry are completely separate, it will sometimes happen that the latest version on GitHub does not match the latest version on npm/PyPI/other. So its useful to have a helpful badge, like the ones available from shields.io
Here are two examples:
[](https://pypi.org/project/numpy/)
[](https://www.npmjs.com/package/react)
As discussed in class, make any contribution to an open source project. If this is your first time making a public contribution, I encourage you to go for something simple like an issue tagged Good First Issues or a documentation correction. Ensure your read and follow the project’s contribution guidelines!
Once you’ve opened a pull request, add a link to that pull request to your student markdown file in the project proposals repository. This PR can be separate from the PR you opened in part 2. Ensure that your commits are squashed into 1, and that all status checks pass.

