How to setup and use the Rotor SSCLI
Before you do anything else, you have to make sure you've got enough
disk space and RAM. The official documentation says you need
something like 1 GB of disk space and 256-512MB of RAM. It would
be safer to have something like 1.5 GB free and at least 512MB of RAM.
If you don't, go and buy some...
RAM and disk space comes pretty cheap these days.
The second thing will need is a C++ compiler installed. The
exception to this rule is of course if you happen to be able to get a
hold of a precompiled copy of the SSCLI, but this is unlikely because
there is no official distribution of this sort. Under MacOS X,
this means that you have to install the Developer's Tools which usually
comes on a separate CDROM from the operating system (unless you have a
pressed DVD release of the OS). The MacOS X Developer's Tools are
also updated pretty frequently so it is probably in your best interest
to download the latest version (freely available, requires registration)
from the Apple Developer Connection tools website. In
addition, you will need to have the BSD subsystem installed on MacOS X.
This is just one of the options found on the installation disks.
If you are running FreeBSD, your distribution will have the
compiler included and most likely you have it already installed.
If not, you need to make sure you installed your machine as a
developer's system.
Once you've got that done (if you're a developer, you probably didn't
need to take any action), you have to download the Rotor SSCLI.
You can download the file from the MSDN website. I
highly recommend that you also download the reference documentation
which is also available on the same site.
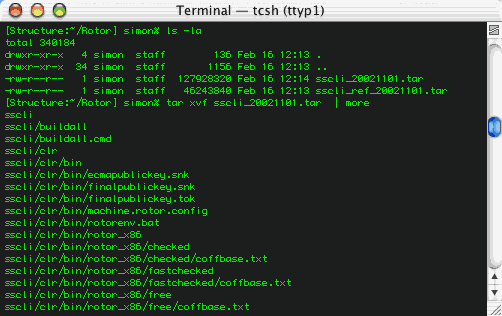
Once you have the file, it is not immediately obvious what to do to get
the Rotor SSCLI going. There is no readme or quickstart file to
get you going, hence the need for this webpage. The file you
downloaded is an archive and you want to extract it. Just run a tar xvf filename.tar and it will
extract all of the files. This is best done inside of a directory
that you've setup for this purpose. In the example below, I've
placed the files downloaded from the MSDN website inside a directory
called Rotor in my home
directory and I've started the extraction process. There are many
files in the archive so this may take a few minutes to complete.
You will see lots of scrolling as this happens.
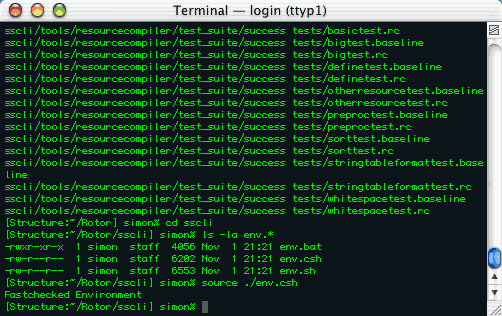
With the files extracted, you now need to setup your shell with the
right environment. What you need to do depends on what shell you
use. First change your directory into the sscli subdirectory created by
the extraction process. Then...
CSH and TCSH users should execute the following command:
source
./env.csh
BASH, KSH and SH user should execute the following command:
. ./env.sh
(no that is not a typo,
that says dot space dot slash
env.sh)
In either case, the script should return Fastchecked Environment and dump
you back to the shell. An example is shown below.
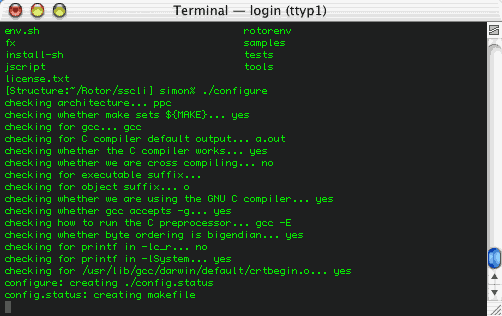
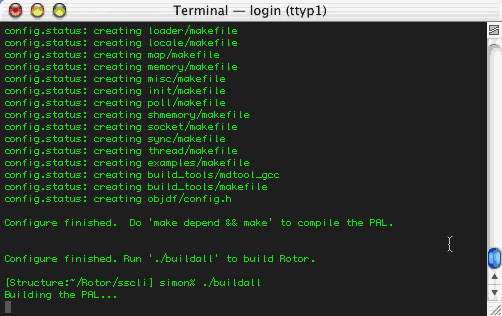
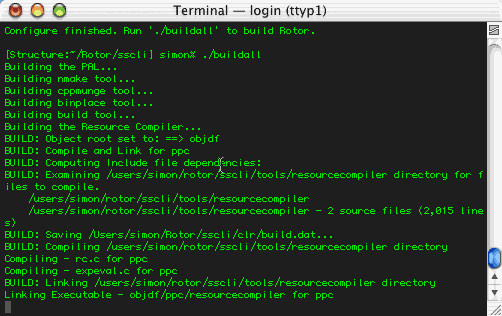
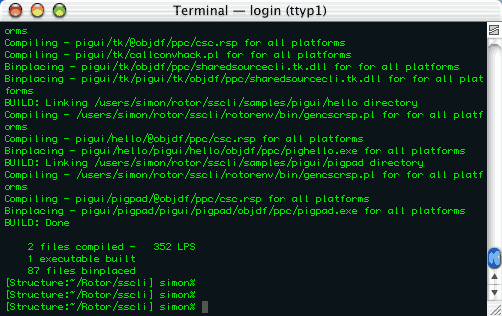
Now you are ready to compile the SSCLI. You basically need to run
two commands, ./configure followed by a ./buildall. Screenshots
of this process are shown below. This process is quite lengthy
and took about 30-45 minutes on a machine with a single 1 GHz G4
processor running MacOS X 10.2.
As long as you do not delete any of contents of the sscli directory, you will be
able to use the Rotor SSCLI at any time by changing your working
directory to sscli and
running the appropriate env.csh
or env.sh script as
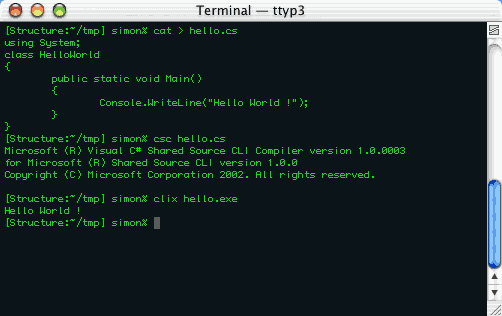
outlined above during the build process. Once you have the
environment setup, you can then change directory to any other place and
use the csc (C# compiler)
and clix (Common Language
Infrastructure Execute) programs to compile and execute C# programs.
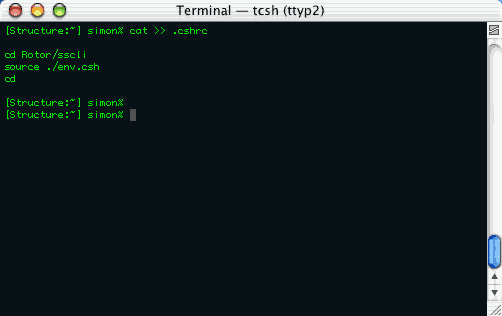
If you will be using the Rotor SSCLI frequently, I would suggest adding
the appropriate line (outlined above during the build process) to your
.cshrc (for CSH/TCSH users) or .profile (for BASH/KSH/SH users) in your
home directory so that the Rotor SSCLI is initialized each time you
login. This will save you from having to initialize your shell
with the environment variables each time you startup a new terminal or
xterm.